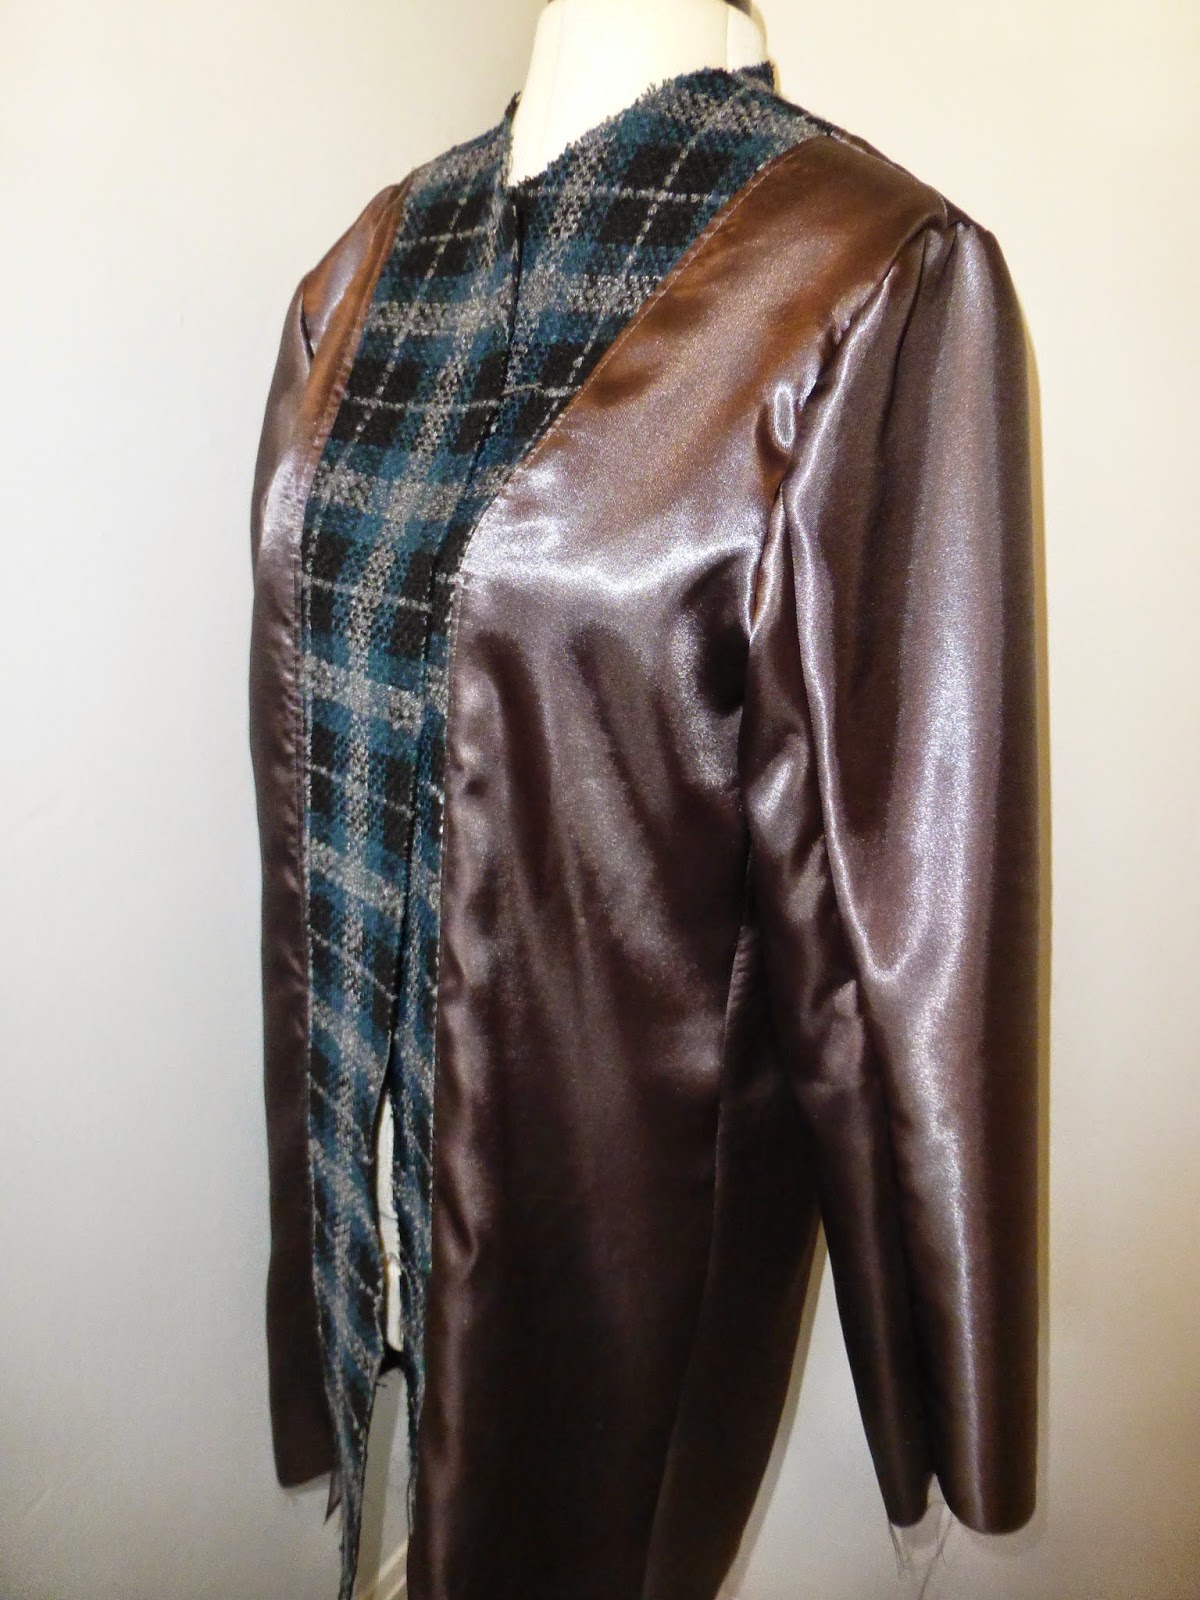
It was a lot of work and quite a challenge, but I'm pretty pleased with the final result.
It's very comfortable to wear, though a spring rather than winter coat, as the fit is too snug to fit a very thick sweater, and I didn't add any extra lining for warmth. I cut a size 12 and the only change I made was to take an extra 3/4" off the shoulders and sleeve length.
There were many challenges, and not least sewing around 8 layers when fitting the zip, it only just fitted under my walking foot, and there were times when I had to pull quite firmly to get the fabric through! The was my first time in completing lots of techniques:
First time fitting a open-ended zip, following the steps this was fairly straightforward except for the multi-layers.
First time sewing leather with the toggles. This was the hardest task for me, trying to sew in a neat circle and this is one of the better ones! I don't think anyone will actually notice, but certainly I wasn't too successful in attaching the toggles. You also need to space them out quite tightly as the leather ties stretch a lot.
Still, I really do like the toggles. They were a bargain from Amazon, only £4.20 including postage and they came quickly even though I ordered them from America!
I love the fabric, even though it frayed like mad. Its a wool with some synthetic content and good value at £13.00 a metre, the black yoke was some left-over melton wool. I used a very slippy and quite substantial lining. I have found the lining on the sleeves a little long.
This was the first time I have bagged a lining, with the help of the excellent sewalong it wasn't too difficult. You fully sew the lining to the coat .....
You don't think it will ever work, but you pull everything through a gap in the sleeve lining.
Most of my pattern matching worked well, look at the continuation of the body stripe through the sleeves! The collar worked well (though again the layers are challenging).
The only real problem is the hem. I ended up with a problem on the left size which you can see here, its been pulled up a bit (and this is wear a bagged lining makes it very difficult to sort out problems). My attempt to sort it out made it worse, when I trimmed the wrong line, so there is nothing I can do now, I can just about live with it though, and I've worn the coat twice already.
I think this is a great pattern, though definitely not for the faint hearted. It took me almost two days just to cut out the pieces. The sewalong was a great help, though the pattern itself is pretty clear.
First time was mothering Sunday at Dalemain House near Penrith, where Dan and I went for lunch.
Lovely sunny day!
.... and lots of lovely flowers
... and a lovely basket of flowers from Dan and Gemma delivered.
It's been a really hard week at work, though successful and so I've just enjoyed a weekend of sewing, mostly my wool jacket, but I'm also slip-stitching 14 metres of bias-binding onto my walk-away dress, which is almost finished.
We have a new member of the family, Dan and Gemma have a westie puppy, called Monty, so cute.
Night, night!


This coat is incredibly smart. The contrast yoke at the back is my favourite part
ReplyDeleteThanks Kaitlyn, it definitely needed a bit of plain with all the plaid.
DeleteVery impressive!
ReplyDelete62 steps worth. Beautiful
ReplyDelete62 steps, my goodness. It makes me stop and think about all the layers and details and stages that go into the day to day clothes I take for granted. The coat is a triumph and the bits you're not pleased with are invisible to everyone else I suspect. And welcome to Monty, he's very cute indeed. x
ReplyDeleteWhat a great coat, and what an adorable pup:). I came from interest to check out your cam as blouse cos I love the fit you got on it. You have some lovely makes.
ReplyDeleteI saw your lovely Sureau, I love Lantana too - and yes. They craft for a c cup, as do Colette. But if you search the web, you can find how to do a full bust adjustment on the patterns that only come in b cup. It took me a while to realise that I needed to go by my high bust measurement and do an FBA on most patterns :)